Christmas decorations...
A very easy tutorial on how to make a 3D snowflake:
If you know how to make a square out of A4 paper or already have square paper, skip to step 6.1. Get a piece of A4 paper, it can be of any colour you wish the snowflake to be. 

2. Fold the paper into a triangle so that the sides line up.

3. Now it should look like this...

4. To get a square, you need to get rid of the rectangle at the bottom by cutting it off.

5. You should be left with a square...

6. Fold the square in half.

7. Draw parallel lines from the edges to the centre, but DO NOT join them together.

8. Cut along the lines but make sure you stop when you get to the middle, otherwise it would fall apart.

9. Open up the triangle and it should be looking like this...

10. From the centre, going outwards, fold the ends corners together and fasten it with glue or tape.
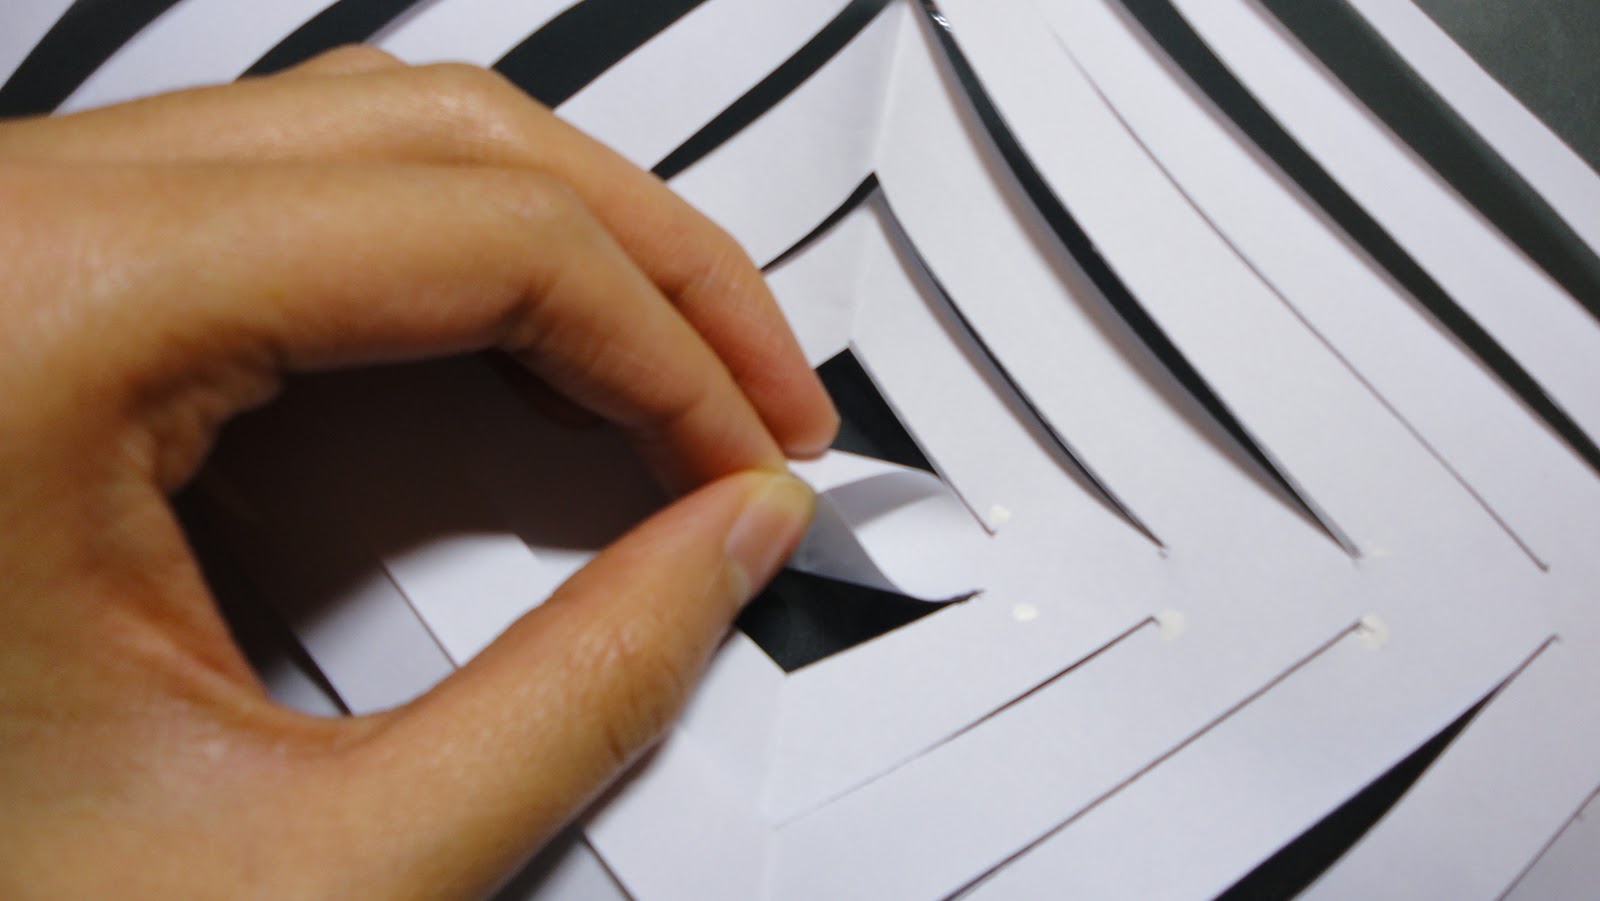
11. For each alternate part, flip it over onto the other side and do the same till the end.

12. After you finish folding them over each other, you should end up with this...

To create the whole snowflake, repeat this 6 times and then stick them all together.
Since mine didn't turn out so well, click on this link to see the finished product. You can lots of other great tutorials for decorations there also.
Have fun!
See you soon! xox
Labels: 3D snowflake, handmade christmas decorations, paper origami
posted by Lauren at
Friday, December 03, 2010
![]()

0 Comments:
Post a Comment
Subscribe to Post Comments [Atom]
<< Home